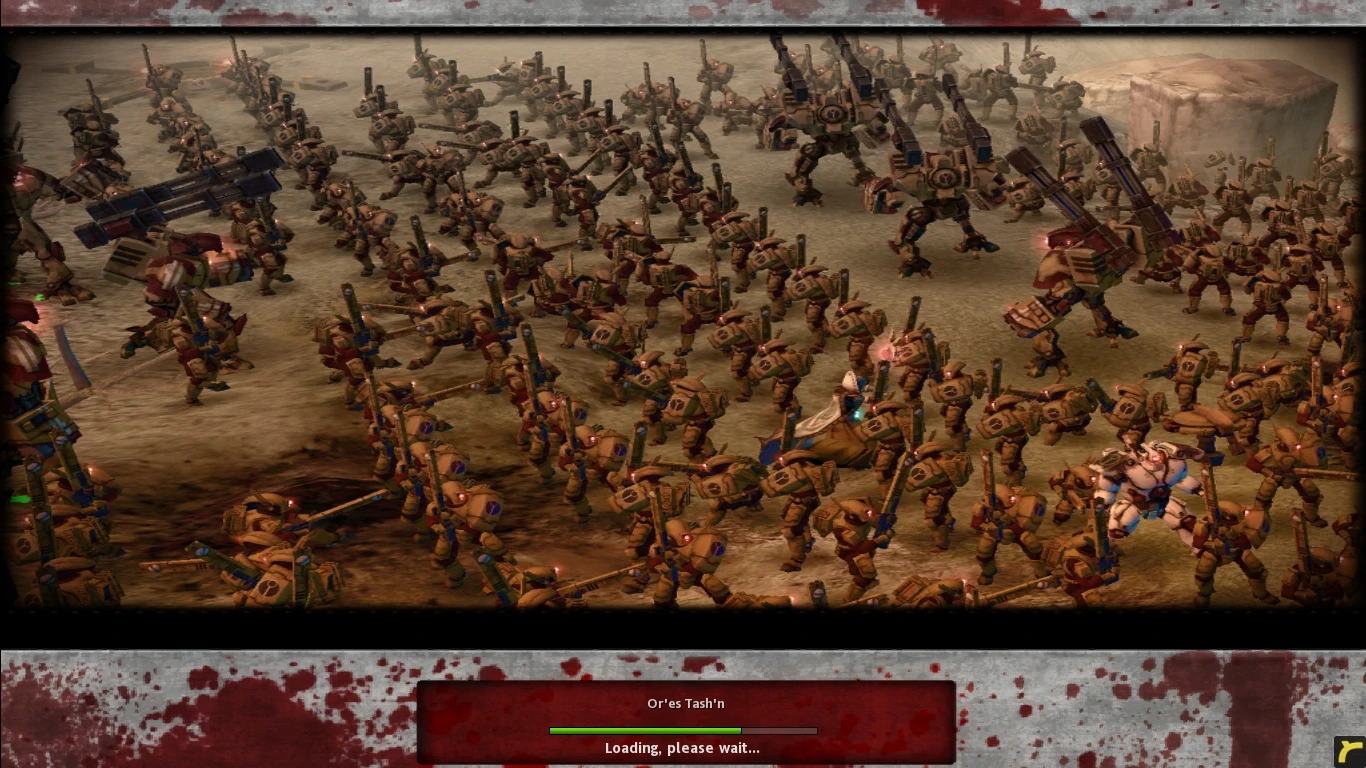
The loading screen of Or'es Tash'n.
Or'es Tash'n is the capital city of Kronus and one of the locations in Dark Crusade. It is mentioned that Or'es Tash'n was originally named Asharis.
Description
The Tau capital of Kronus, Tash’n is a modern and thriving metropolis with a full province of outlying communities along with several large military bases. Built on the site of the Imperial-era city of Asharis, it still bears many signs of Imperial architecture.
Protected by the Ariel Highlands to the north and warmed by the western sea, Greater Tash'n enjoys long summers and mild winters. Outside the dense sprawl of Tash'n itself, smaller cities nest along several navigable rivers.
Bonus
- +100 Planetary Requisition
- Eliminate the Tau Empire from the campaign
Objectives
Primary
- Eliminate the Ethereal
Secondary
- Destroy the Kauyon Command Post
- Destroy the Mont'ka Command Post
Campaign strategy

Begin by capturing the nearby Strategic Points and producing troops to fend off the initial assault. Take your time to construct Listening Posts and upgrade them before making an assault on the Tau. The upgraded LPs, a few turrets, and a few workers to repair them, should be sufficient to keep assaults at bay.
One effective strategy is to focus your base defenses on one side while pressing your assault from the other, though whichever objective you choose to pursue first, it is recommended to take the Relic/Unity Plaza to deal with the cloaked Tau units all over the map for those races with limited detection capabilities.
However, if you do decide to destroy the rightmost base, the Kroot Quarters, first (perhaps because both the Krootox and Greater Knarloc pack Daemon armor, a frustrating aspect that makes them far stronger than even certain vehicles), keep in mind that their main base is located fairly near to where you would need to cross in order to reach Unity Plaza; take care not to be drawn in by outlying Kroot Carnivores, Hound Packs, and Krootox/Greater Knarlocs, unless you plan to annihilate their base first. Passing through the first forward base to the left of the map is a better choice to take Unity Plaza, as that area allows for easy defence from the main base at the leftmost corner of the map, and the "keystone unit" for that area, the Hammerhead Gunship, does not stand up well to focused fire or anti-vehicle teams. A Greater Knarloc guards the leftmost road to the to the leftmost main base, but it is stationary, and will not attack without provocation.
Neither of the enemy's two bases should offer much trouble as long you take your time to upgrade your forces and replenish lost units; supported with the primary assault vehicles of any race (e.g. Leman Russ for IG players, Predators for Space Marines, etc.), there is very little to worry about. The primary objective is to kill the Ethereal in the main Tau base north of the map, which is heavily fortified with ample forces, and has only two entry points for conventional forces. Aun'el (the Ethereal) circles the center of the base, and although it is possible to kill the Ethereal through focused fire, the sheer number of enemy units present will make a direct assault immensely bloody, costly, and time-consuming. It is easier to slowly shatter their defenses with advancing infantry, backed up by artillery units. Without a blocking superweapon or an instant-loss condition, chasing the Tau off Kronus is easier by some than others.
Race-Specific Tactics
- Imperial Guard players will find this mission easier than most others as it progresses; the Basilisk is easily defended in the tight city quarters, and Earthshaker rounds can easily make short work of any unit or building, from well outside the Tau's retaliation range, infiltrated or no. Guardsmen with Grenade Launchers, coupled with Leman Russ battle tanks or Hellhounds, can take the Tau in ranged combat. The Vindicare Assassin provides a high-damage option for taking on Kroot special units, and attached Sanctioned Psykers allow for easy detection of infiltrated forces. In a grind, Commissars can be used to keep Guardsmen in the fight for far longer, allowing for a few squads to tie up enemy infantry in melee (supplementing your own Command Squad and Ogryn units) while stronger ranged troops pick targets apart.
- Imperial Guard players also have a far quicker way of ending the mission than other races. If the player has a forward base and buys all the buildings for it then they can quickly build a formidable defence to take care of the tau's attack units. Then build a Vindicare Assasin (or before the battle buy the honour guard one) and have him travel to the top of the map; pausing only to take out pathfinders before they detect him. When in the top quarter it is then a simple case of getting him to take out the Ethereal.
- Other races are no less capable, although they lack the extreme range of the Imperial Guard. Battle casualties are hardly a concern for Necron players, even in the short term, and a properly-upgraded Necron Lord with Teleport can exterminate most of the infiltrated troops even before the player begins heading for Unity Plaza, provided that the player knows where they are. The Nightbringer is excellent for drawing away enemy fire, allowing other Necron troops to advance nearly unimpeded.
- While the Space Marine Force Commander lacks the ability to detect infiltrated units, the Space Marine force is varied enough to take the ambushes as it goes. A Grey Knights/Librarians and a Chaplain/Assault Terminator combo is nearly enough to make short work of anything, so long as they are not severely outnumbered, and Dreadnoughts as the tip of the spear allow the Space Marines to cut through most opposition in this mission.
- The same is true for the Chaos forces, although there is the added advantage of the Chaos Sorcerer's detection and teleport, as well as the advantage of Berzerkers and Possessed Chaos Marines to use against the Tau, Kroot or no. While Defilers are not quite as hardy, they are still capable enough.
- Eldar Harlequins and Prism Tanks, properly screened, are excellent for disrupting enemy troop cohesion, allowing your ranged forces to pick them apart. The Krootox/Greater Knarloc are suspectible to the Farseer's abilities, and if set upon by Wraithguards and the Farseer, even the Tau relic unit should not prove much of an issue. Webway Gates allow greater base survivability with their cloaking.
- Orks... are, well, Orks. Play to their strengths, and a loss is unthinkable. Because of the unpredictability of the Looted Tank's accuracy, having a formation of Killa Kans on hand is recommended, although the Looted Tank is excellent for infantry disruption, and has no trouble with protecting itself against infantry, thanks to its secondary bolters. The Warboss's high survivability is a plus, as you might have to throw him into the grinder, either attached or alone, often to absorb fire or melee meant for weaker units, such as Flash Gitz or Shoota Boys. Melee squads combined with Mad Doks are a must, and Wartrakks/Tankbustaz are a cheap and viable option to take on Tau armor.
- If you're Tau, and you find yourself on this map, you had better make things quick, because losing this area means losing the game. Tau players will start on the northmost corner of the map, and will lack all of the buildings and territory that their A.I. counterparts in the other races' mission had; however, the enemy is unlikely to have more than one base, making things equal. If you find yourself having trouble taking on the Western Barrens(the Necrons always have control of that specific territory when as an enemy), forcing you to leave your front wide open as you take other areas, it is recommended that this map is the first place you should fortify with the overworld requisition. If you're confronted on home ground, quickly secure area superiority and wall off the enemy; use the chance to set up structures across the map before you complete the mission, so that in the (unlikely) event that you're unable to kick the attacking race off your front porch in time, at least your key area is well-defended, leaving your Tau Commander free to roam the world map.
Template:DCguide